NYA evo FJORD 60-C : THE PERFECT BAG FOR LANDSCAPE PHOTOGRAPHY ?!
Is this the perfect backpack for landscape photography?
A hands on review of the NYE EVO Fjord 60!
It´s now been a few months since the Fjord 60 by the swedish company NYA EVO has entered my gearpark. I always make sure to thoroughly use the products that i review, which means that i will wait with the reviews until i was abled to test the respective items in the situations for which i bought them for.
Note: This is not a payed review of any sorts. I bought the bag with my own money after extensive market research. This may already tell you a little bit about the transcourse of the review.
But who cares, right- let me get things straight right away: I love this bag! And yes, much more than the Tilopa by another well known brand in the photography bag industry. Here´s why:
I have had a Tilopa backpack in use for the most of the past 5 years and i have been quite satisfied by it. However, when carrying a full load for longer than 45 minutes, i always experienced strong pain in the back. No matter how i tried to adjust the carrying system. This lead me to start to search for a new backpack even though the old one would have still been a useable bag for some years.
As you see here, this is not meant to talk down another manufacturer- the bag is fine to use for every shooting where you stay rather close to the car. And then it lasts many years.
But if theres many things that i need during my landscape photography trips, back pain is the one i need the least. As the years progress i started to put more emphasis on the combination of hiking and nature photography. There´s just something fulfilling in adding a little physical challenge to the landscape photography game.
And the more effort you have to put into reaching your photography location, the less imagery will exist in social media and across the internet in general. Which is a nice bonus. Alongside the endorphines that you produce when you feel that you really worked for those moments of epic light (if you get some). If you don´t, you still burned some calories and breathed some fresh air. Priceless!
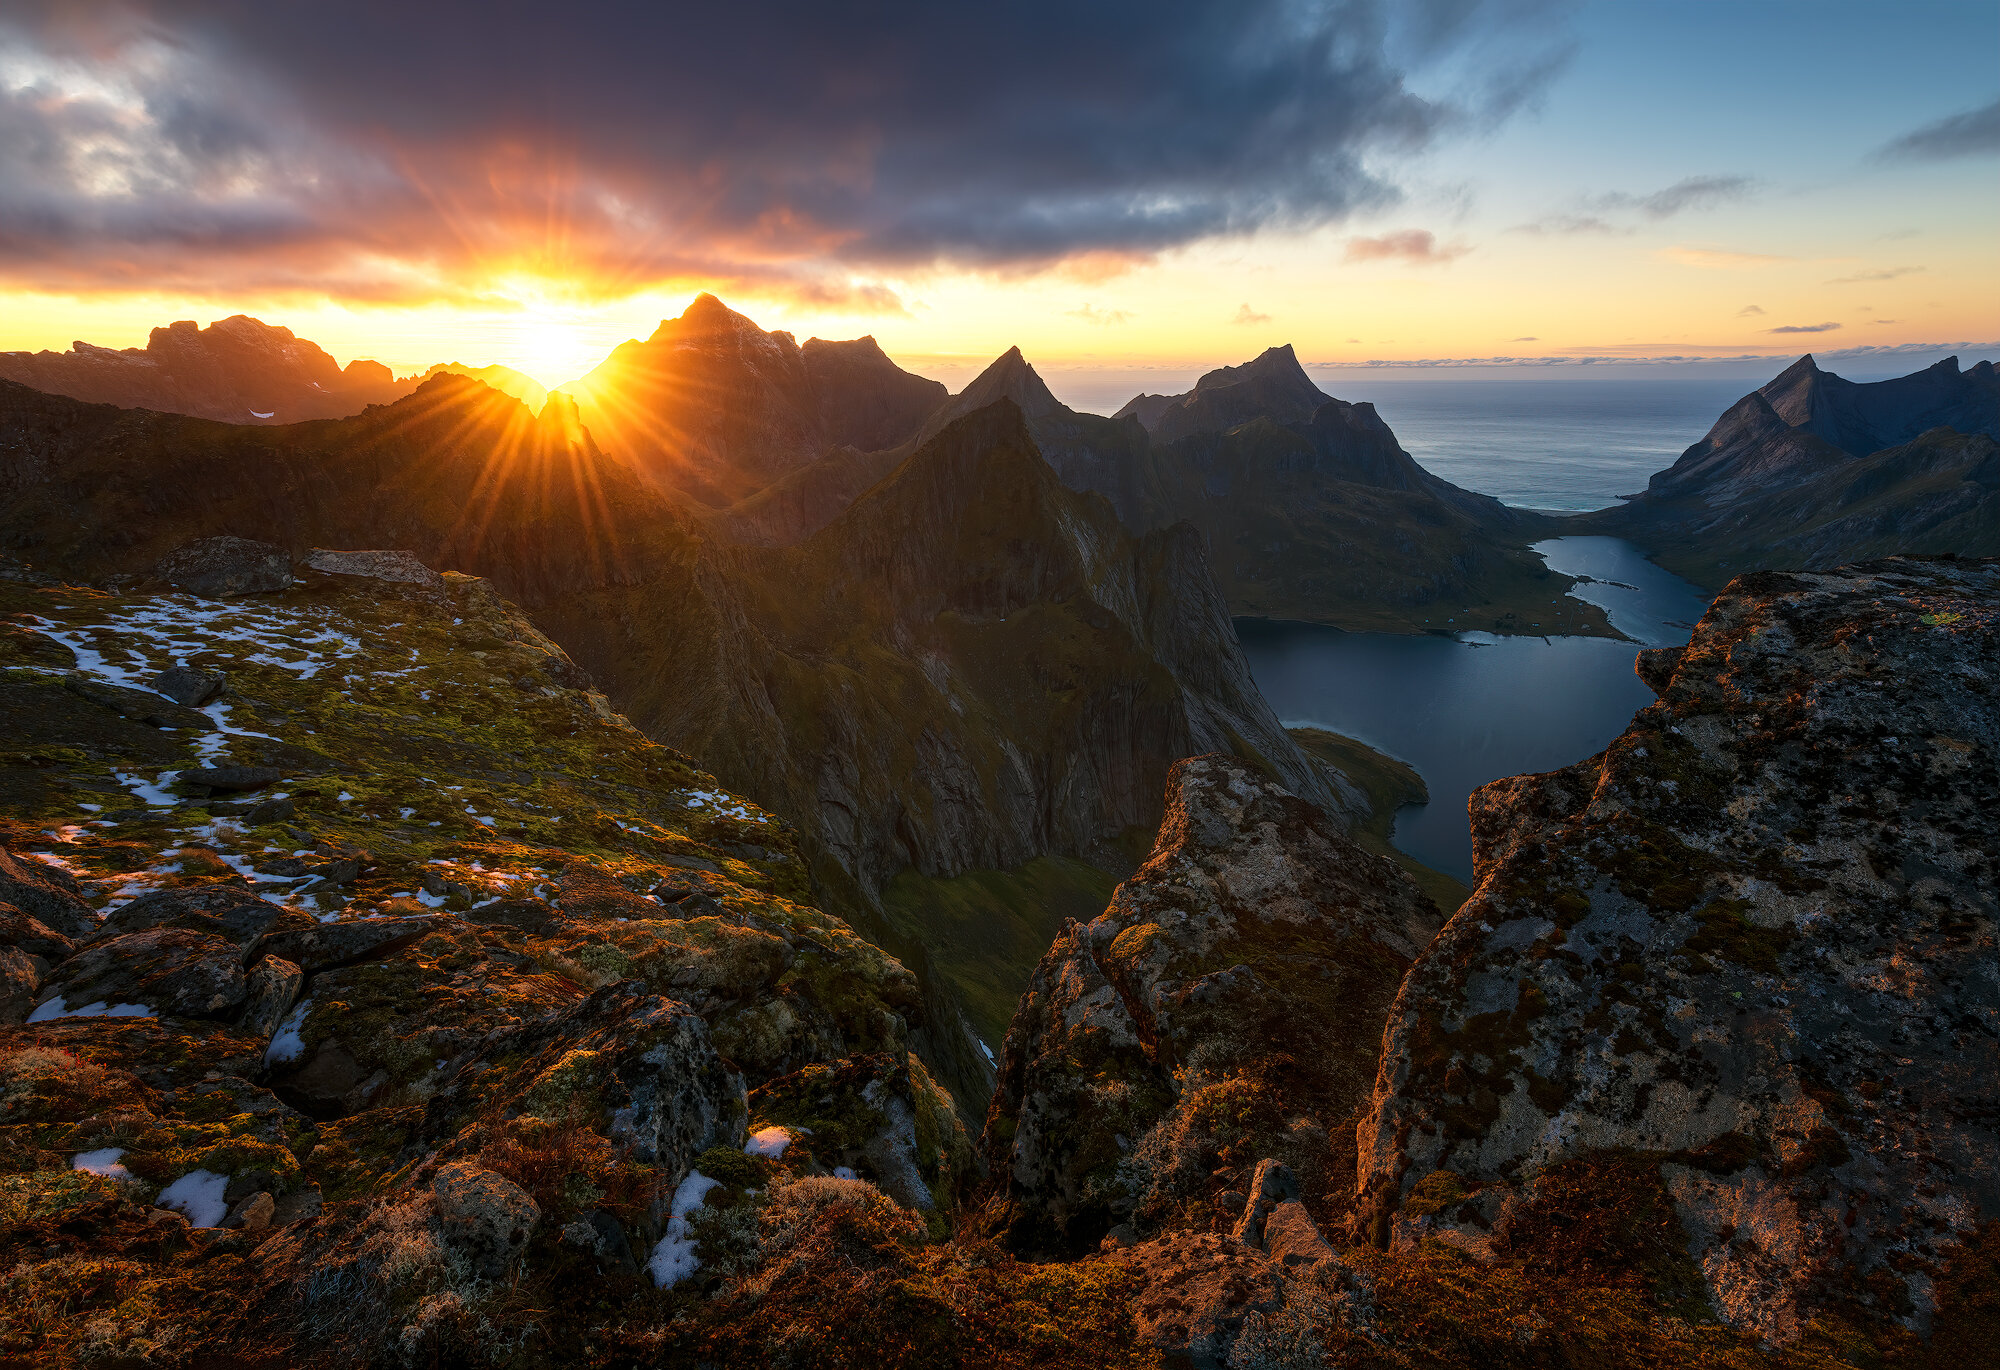
To reach amazing views like this one here, we will always have to carry our gear out and gain some elevation!
Fjord 60- C stands for Carry On
Another thing that has had me sweating at airports many times was the size of my previous backpack. Optically it directly indicated that it does not fit into most airlines carry on baggage size rules. Which is unideal if you are carrying more than double of the weigth that is allowed to be carried by airlines.
As someone normal you may now think that i am crazy to complain about a touchy topic like this one- but if you are either a photographer or filmmaker (or both) you will know this problem more than well. We want to make sure that our holy camera gear is as safe as possible while travelling. For this we need it to be right above us in the overhead compartment.
I would simply never put a photography backpack as drop off luggage in an airplane. Once you sit in your comfy seat and look out of the window to see how the people start throwing around our luggage while loading and unloading the aircraft… we simply don´t want our gear to be handled that way.
The only alternative would be to check in our beloved camera gear in something like a Pelican case. Which is then very cumbersome to deal with once we hit the road for photography.
Long story short: We will most often bring with us way more weigth than it is allowed. And therefore i find it very important to use a backpack that fits into the carry on dimensions, doesn´t look overly huge and this way doesn´t attract the attention of the airlines personal. This also removes the need to enter the aircraft rather early, as there will most likely always be enough space in the overhead rooms.
Luckily, also regarding this point, the Fjord 60- C has me covered! The C in the name of this bag stands for carry on. While the ideal dimensions might be slightly stretched with the Fjord 60 C as well, it still remains invisible to people scanning you on the way to the aircraft.
Short summary: It worked like a charm. And i was worried in the beginning, as the carry on rules changed to only a single item beeing allowed thanks to Covid measures. In the past, i always carried my photo bag and an additional messenger bag with laptop, food for the travels, etc.
My carry on luggage for this trip:
- Nikon Z7II body with Nikkor Z 14-24 f/2.8 attached
- Nikon Z 24-70 f/4
- Nikon Z 70-200 f/2.8
- Nikon FTZ Adapter
- Nikon Z 2x Teleconverter
- DJI Mavic Pro 2
- 4 drone batteries + 6 camera batteries
- a bazillion of chargers and cable connectors
- MSI Creator 15 Laptop with charger
- SSDs, Harddrives for backup
And other things that i might have forgotten. All together, a load of around 24 Kilograms. More than i was allowed to carry in the checked in luggage. I happily discovered, that my bag didn´t receive any attention. And that it easily fits into the overhead compartments of an Airbus A 320… and even in a Bombardier CRJ900 (this one has small compartments and previously i often had trouble pushing my bag inside).

The NYA EVO Fjord 60- C had a snug fit even in the smallish compartments of a Bombardier CRJ900
Details of the backpack
The Fjord 60 is the biggest model by this relatively new brand. While the company has not been existing for very long, the people who run the company and design the bags have extensive expertise in the field of photography backpacks. And also in outdoor sports, which will be showing through as we talk more in depth about this great photography backpack.
This backpack comes with a main compartment to drop in the RCI camera insert. Depending on which RCI size you choose, it will also add plenty of room to carry around whatever you might happen to want to bring on your hike (for example hiking/camping gear).
Then we have the front segment with a huge amount of little pockets that invite to be used to carry batteries, memory cards, photography filters and filterholders, remote controllers, etc. On top we have the insulated and waterproof top compartment. This one is made in the style of a dry bag and you can collapse it, which i really loved.
When collapsed, the backpack looks smaller than it actually is- you will see why i love this so much further into this review.
Needless to say, the bag i made of water repellent fabrics and all zippers are insulated to keep the photography gear nice and dry. The bottom is waterproof too.
Check out the NYA EVO website and get all the details about their bags and RCIs. I will keep this review hands on and invite you to check the nitty gritty directly at the manufacturer
First use case: casual photography
My first use case was to use the bag as my normal daily backpack for my camera gear. For this it worked like a charm of course. This should be no challenge at all for a dedicated photography backpack- and it was none for the NYA EVO Fjord 60- C. No surprises here!

The Fjord 60-C with an RRS TVC-33 attached to the side
Second use case: easy hikes
Second use case was bringing my photography and videography gear with me on some hikes in my local forests. The carrying system already proved to be a better fit for my body in this rather easy scenario. As the bottom of the bag is waterproof and insulated, one can put it even in mud without water entering the bag. This way one doesn´t need to worry about how to treat the bag. Of course the front part of the bag is waterproof too, which means i can just drop it wherever i want in order to acces the camera gear from the rear zippers. But these rather short walks were of course also no challenge for the bag!
Third and main use case: Strenous hikes in steep terrain
Then, finally, after a way too long wait, i was abled to bring along the FJORD 60-C with me on my recent hiking based trip to the Lofoten islands in northern Norway. This would be the ultimate real life test as i was abled to watch the carry on attributes at the airports, see how this landscape photography backpack fits into the overhead compartment of different airplanes and to see how much attention i was drawing towards me because of my rather maxxed out carry on bag. And then using it to carry my full gear load plus warm clothing layers, snacks and drinks during multiple hikes of several hours in steep mountain terrain and tricky weather conditions.
Watch this Instagram Reel by Terje Nergard who joined me for a hike in very wet and muddy conditions
During the longer hikes that i went on last week on my long awaited autumn trip to Lofoten islands in Norway, i was abled to see how well the bag behaves when packed with a lot of gear and additional clothing layers. It was my first hikes with a dedicated photography bag where i didn´t regret not bringing a proper hiking backpack.
Normally i have been using an Osprey Aether 85L for every hike that is longer than one or two hours. The carrying systems of dedicated hiking bags are always superior to those that are built into photography backpacks. This is also true when looking at the Fjord 60.
I will not say that the carrying system is perfect, that would be pushing things too much. But compared to all other bags i had previously, this one makes it possible to adjust it just enough in order to walk around with heavy photography gear for longer than two hours straight and not feel any pain in the back!!!
There is also enough space in the bag to add a small tent and a summer sleeping bag into the upper compartment and shove a down jacket/rain pants into the laptop slot. That is totally doable.
As i was prepared for the night temperatures to drop below zero on the mountains peaks though, i needed to carry around a thicker down sleeping bag ( Cumulus Panyam 450), an insulated sleeping mat and my Hilleberg Akto tent. This was actually too much of a load to make sense to use the Fjord 60 for it. While you can do it when packing really smart, for these cases i still prefer to use a proper hiking backpack.
Because then i can easily bring along cooking gear, more water, dry food, munchies, etc. But this is also not the intended use case for the bag that we are speaking about.
During these hikes i had to endure lots of rainy weather. Sometimes it was really pouring down with near gale force winds. I did only use the raincover during really heavy rain as the bag was staying dry inside during normal rain even without the cover. The raincover is big enough to cover the whole bag nicely and was completely water proof.
Attaching a tripod to the backpack
Another important piece of gear that i most often bring with me is my tripod. Therefore it´s important to me to have a neat way of attaching the tripod to my backpack. This is particularly well solved on the NYA EVO Fjord 60-C as the side pockets are not just a fiddly (and easy to rip) net, but made from a very sturdy fabric. One can adjust the size of these pockets depending on what we need. Besides the side carry option, you can also strap the tripod on to the middle section of the bag. Depending on the trail conditions, i sometimes use this options to avoid having the tripod hanging in bushes and trees.
The TVC-33 by Really Right Stuff is too big and clumpsy to qualify as an ideal tripod for hiking based landscape photography. I might buy a smaller and lighter tripod soon.
If you have a good hiking tripod which you enjoy using, feel free to recommend me one over on my Instagram @felixinden . I reply to every DM i get!

Here you see the tripod mounted to the middle of the bag and also the thick fabric from which the side pockets are made.
Conclusion
To come to the end of this little review, let me wrap it up with some pro and contra that i found. There are much more pros than cons to this bag in my humble opinion. And if you wonder why i keep this non paid and non sponsored review so positive: I simply like this bag and stopped looking for alternatives!
PRO:
easy and variable attachement of even very big tripods
multiple options to customize the way in which i pack the bag depending on the mission of the day
the carrying system allows to transport heavy loads without any pain in the back
i love the design (this is not main priority, but i like neat looking backpacks)
The bag includes all needed accessories from the go (others charge big for these little items)
The RCI camera inserts are very sturdy and of great quality
Fits into the overhead compartment of even small airplanes and does not draw attention from personal towards the way too heavy bag
The bag proved to be fully rainproof even without the rain cover. Which means it should survive a monsoon with the rain cover.
CONTRA:
It is a little bit too small to allow carrying a full winter overnight hiking kit. For this, the collapsible upper compartment would have to be a little bigger
The many options to set up your bag might be a little overwhelming at first look- luxury problem though
While i think the color options are fine, i would love to see some more color variation in the future